


product details
5pcs Light|Shield Flex
Product ID: S-LIS-02
Light isolation for backlit Matias switches: very flexible polymer material, ideal for refitting switches with preinstalled keycaps (pictured keycap and switch are not included)
Weight: 15 grams
3.49 € (5 pieces)
incl. VAT, excl. shipping
Login or create
your free customer account to receive an email, when the product is back in stock.
Important!
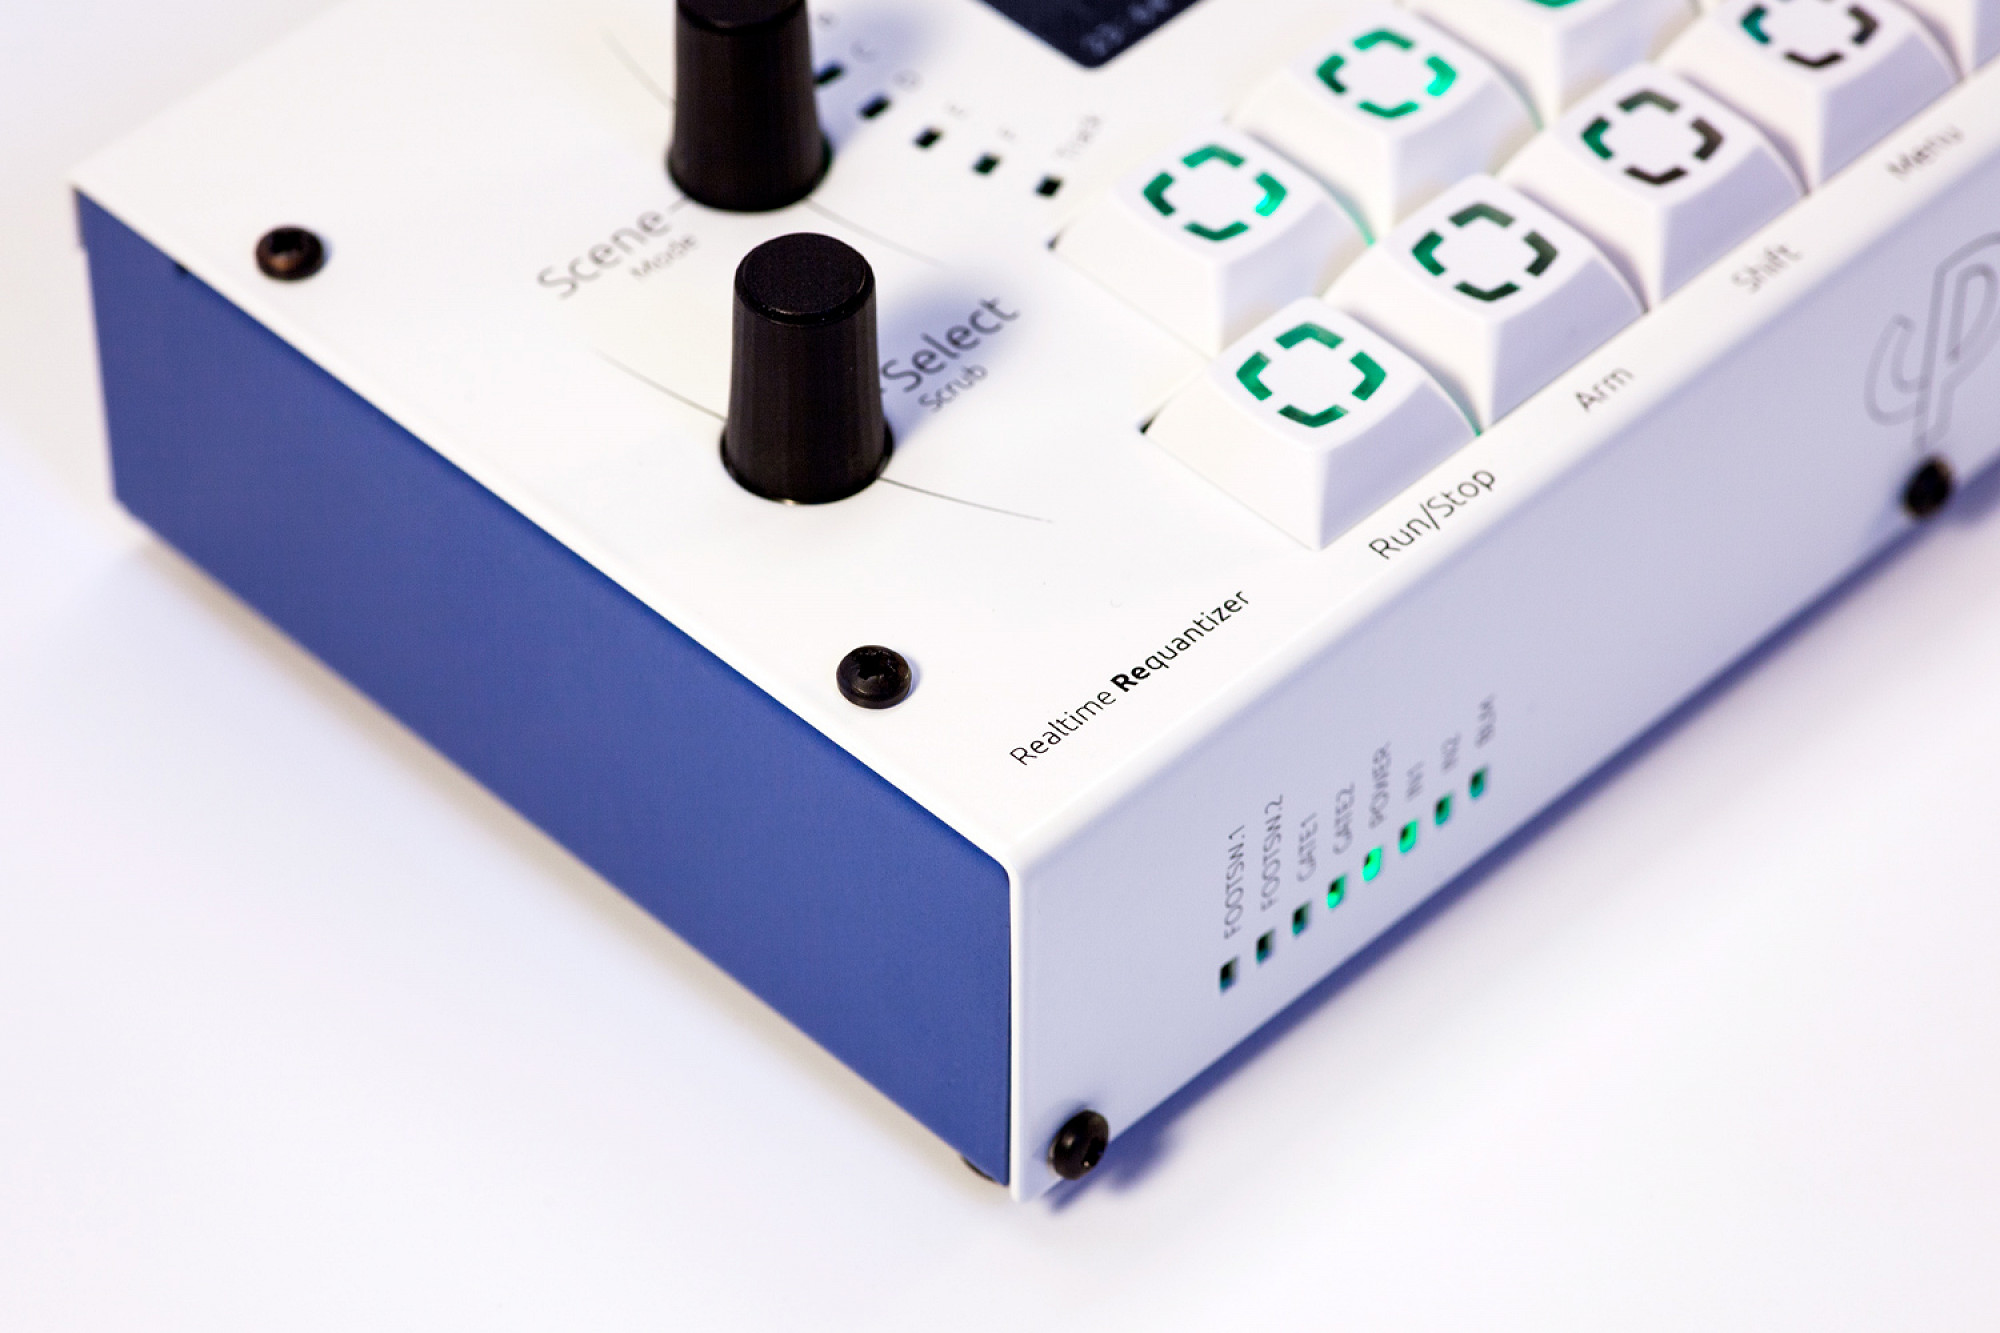
Want to prevent light bleed but already have L4 keycaps mounted? As there is a slight risk of breaking off the keycap stems, we developed Light|Shield Flex isolators specifically for the Pro Metal Case LoopA. For this, a vacuum desoldering pump or decent braid is recommended.
The upgrade is fully optional and performed at your own risk!
If you have Matias switches that have the older frosted/fully transparent keycaps installed (e.g. a first-generation midiphy SEQ v4+), we recommend using Light|Shield Standard isolators:
The upgrade is fully optional and performed at your own risk!
If you have Matias switches that have the older frosted/fully transparent keycaps installed (e.g. a first-generation midiphy SEQ v4+), we recommend using Light|Shield Standard isolators:
Installation Instructions
Step 1: Prepare Light|Shields
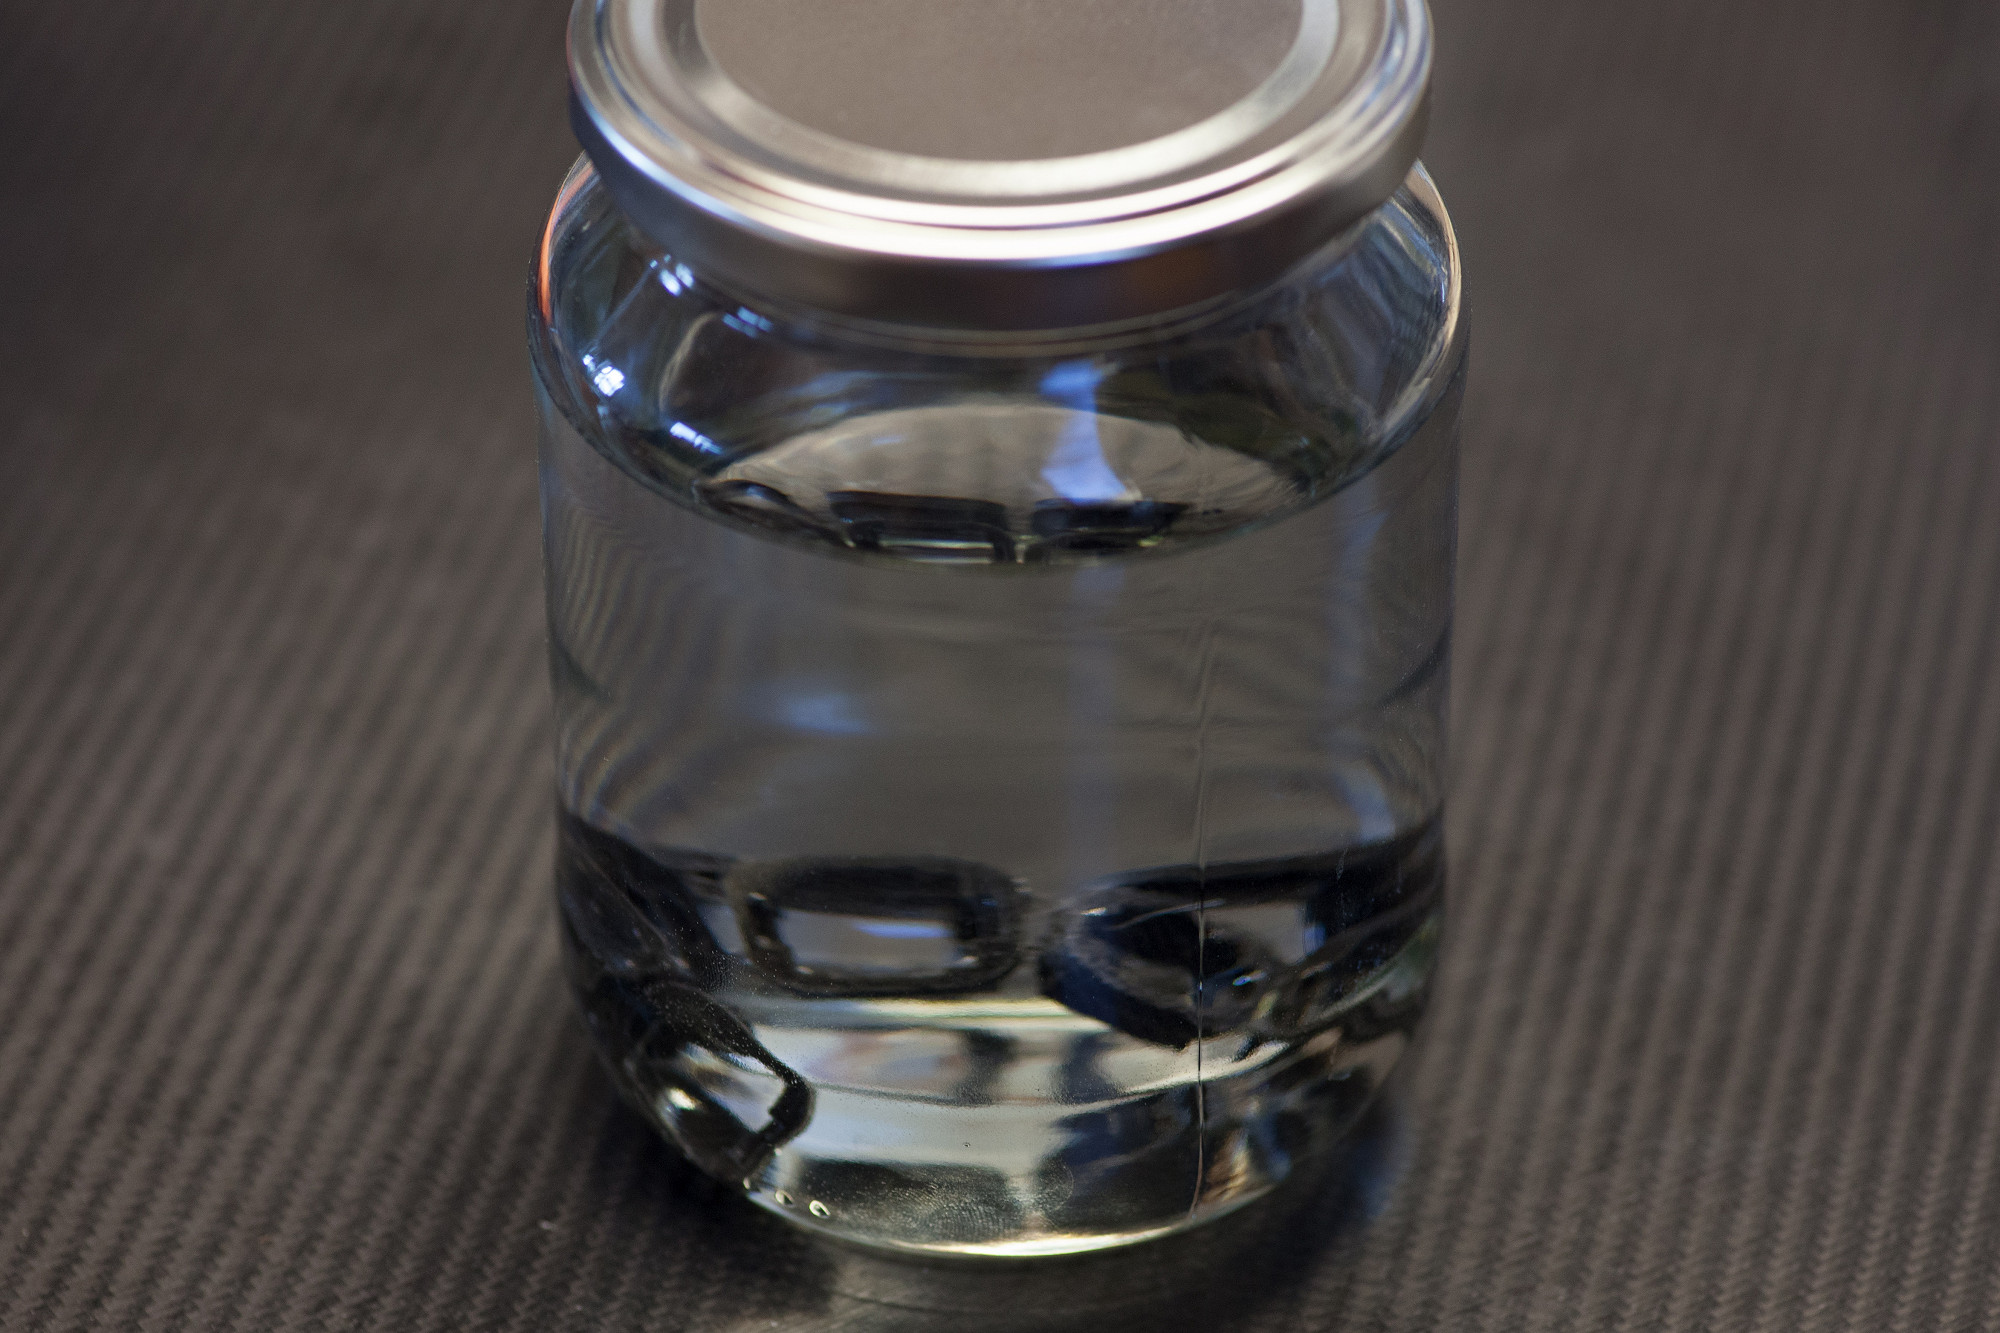
Put the Light|Shields in a glass of standard tap water for approximately 12 hours to dissolve the transparent support material. Then take out your light|shields and dry them on a towel. If they are still sticky, wash again with running tap water.
If you want to get started right away, it is also possible to manually peel off the support material, but dissolving in water is preferred.
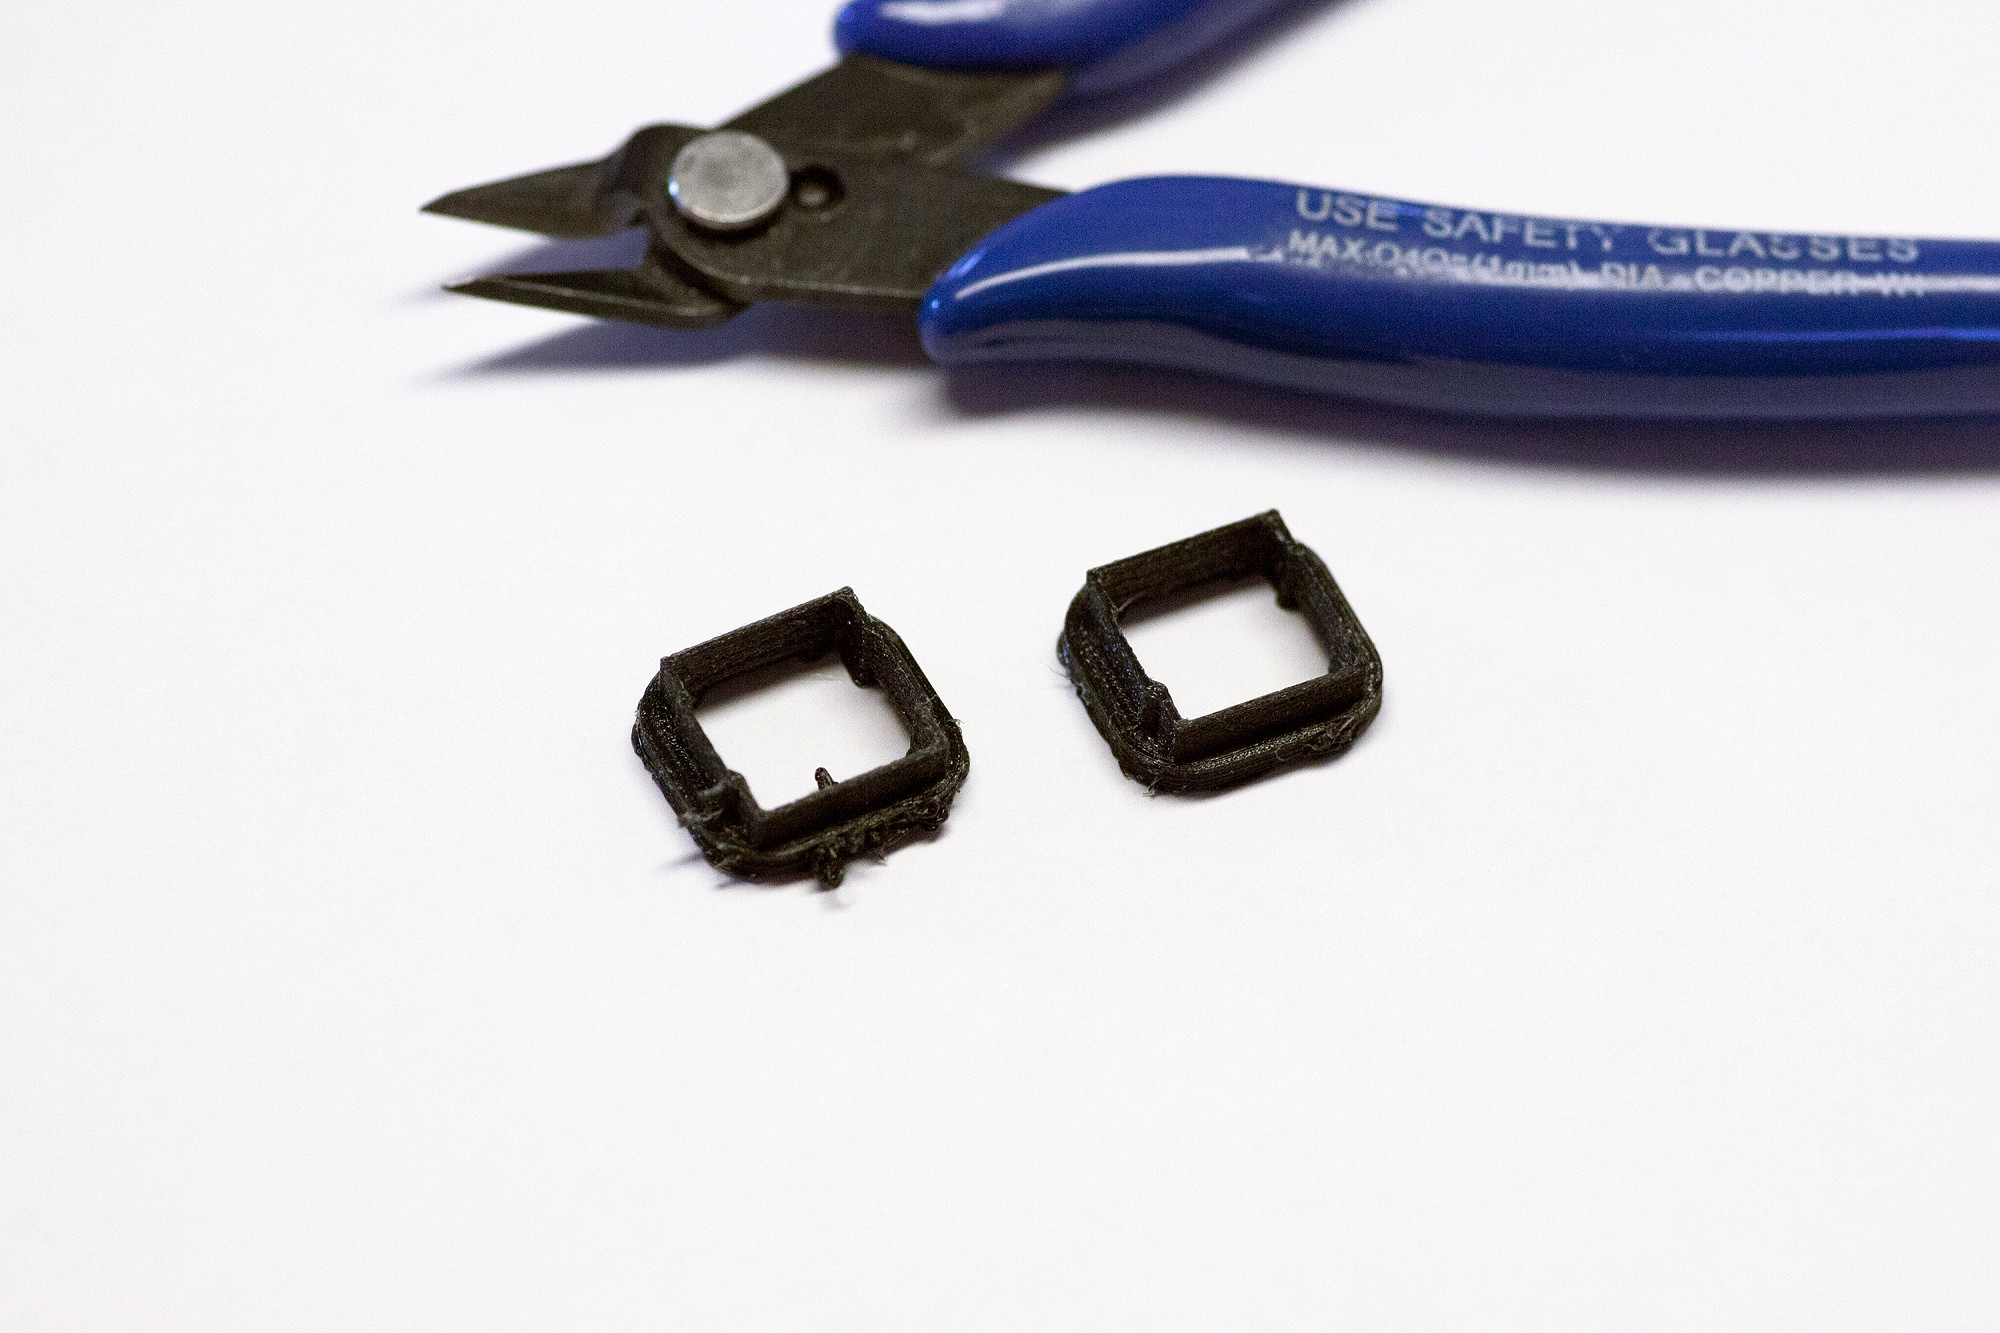
STEP 2: SNIP OFF EXCESS FILAMENT
Some filament residues might remain from 3D printing; this is normal (left Light|Shield). These threads can be easily snipped away with a sharp wire cutter (right Light|Shield) or exacto knife. Take care!
Some filament residues might remain from 3D printing; this is normal (left Light|Shield). These threads can be easily snipped away with a sharp wire cutter (right Light|Shield) or exacto knife. Take care!

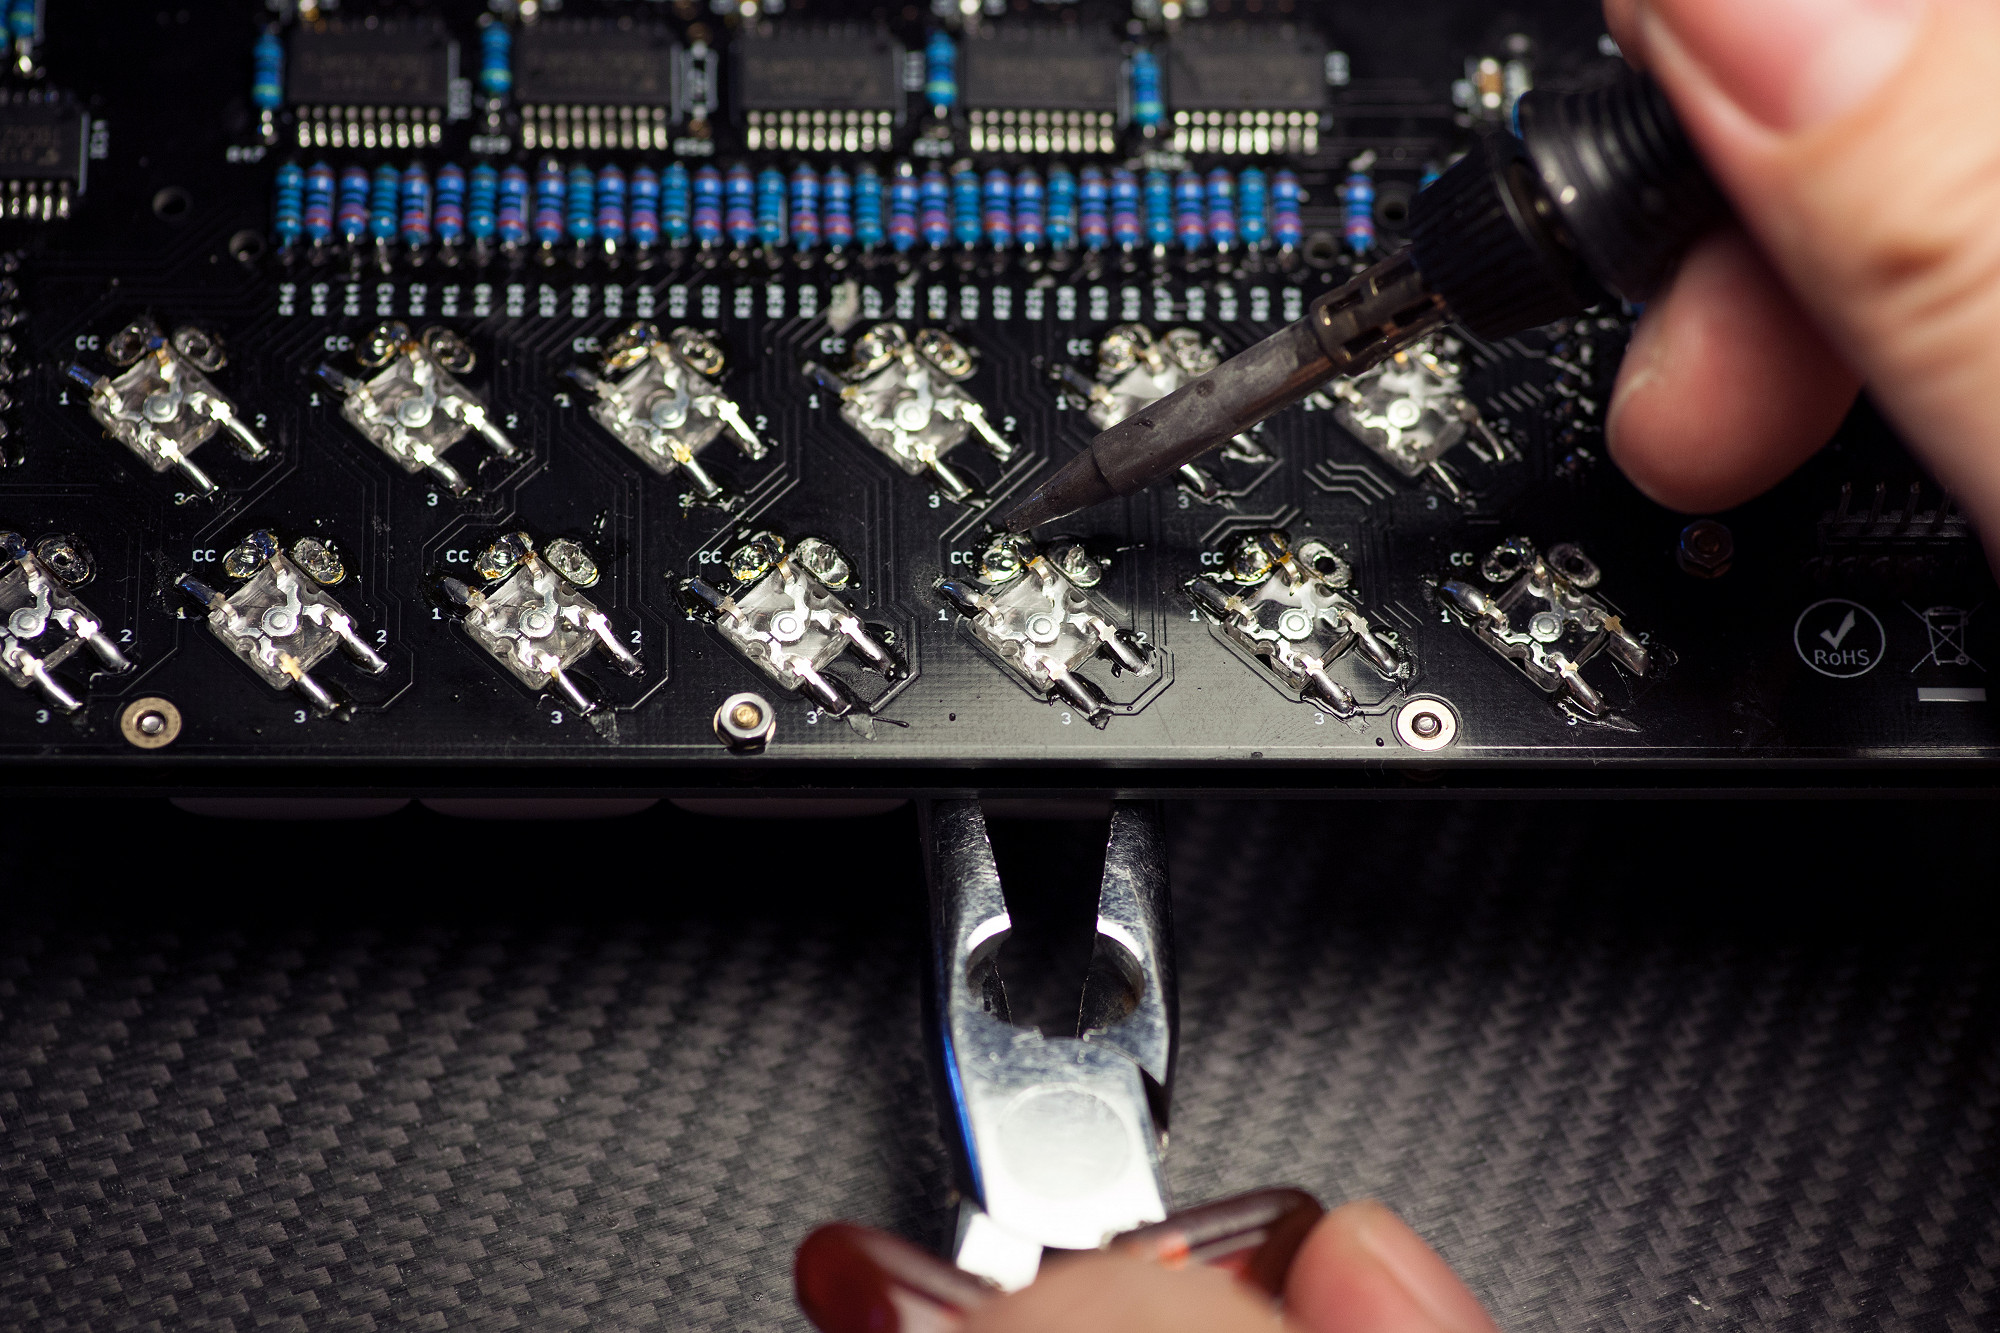
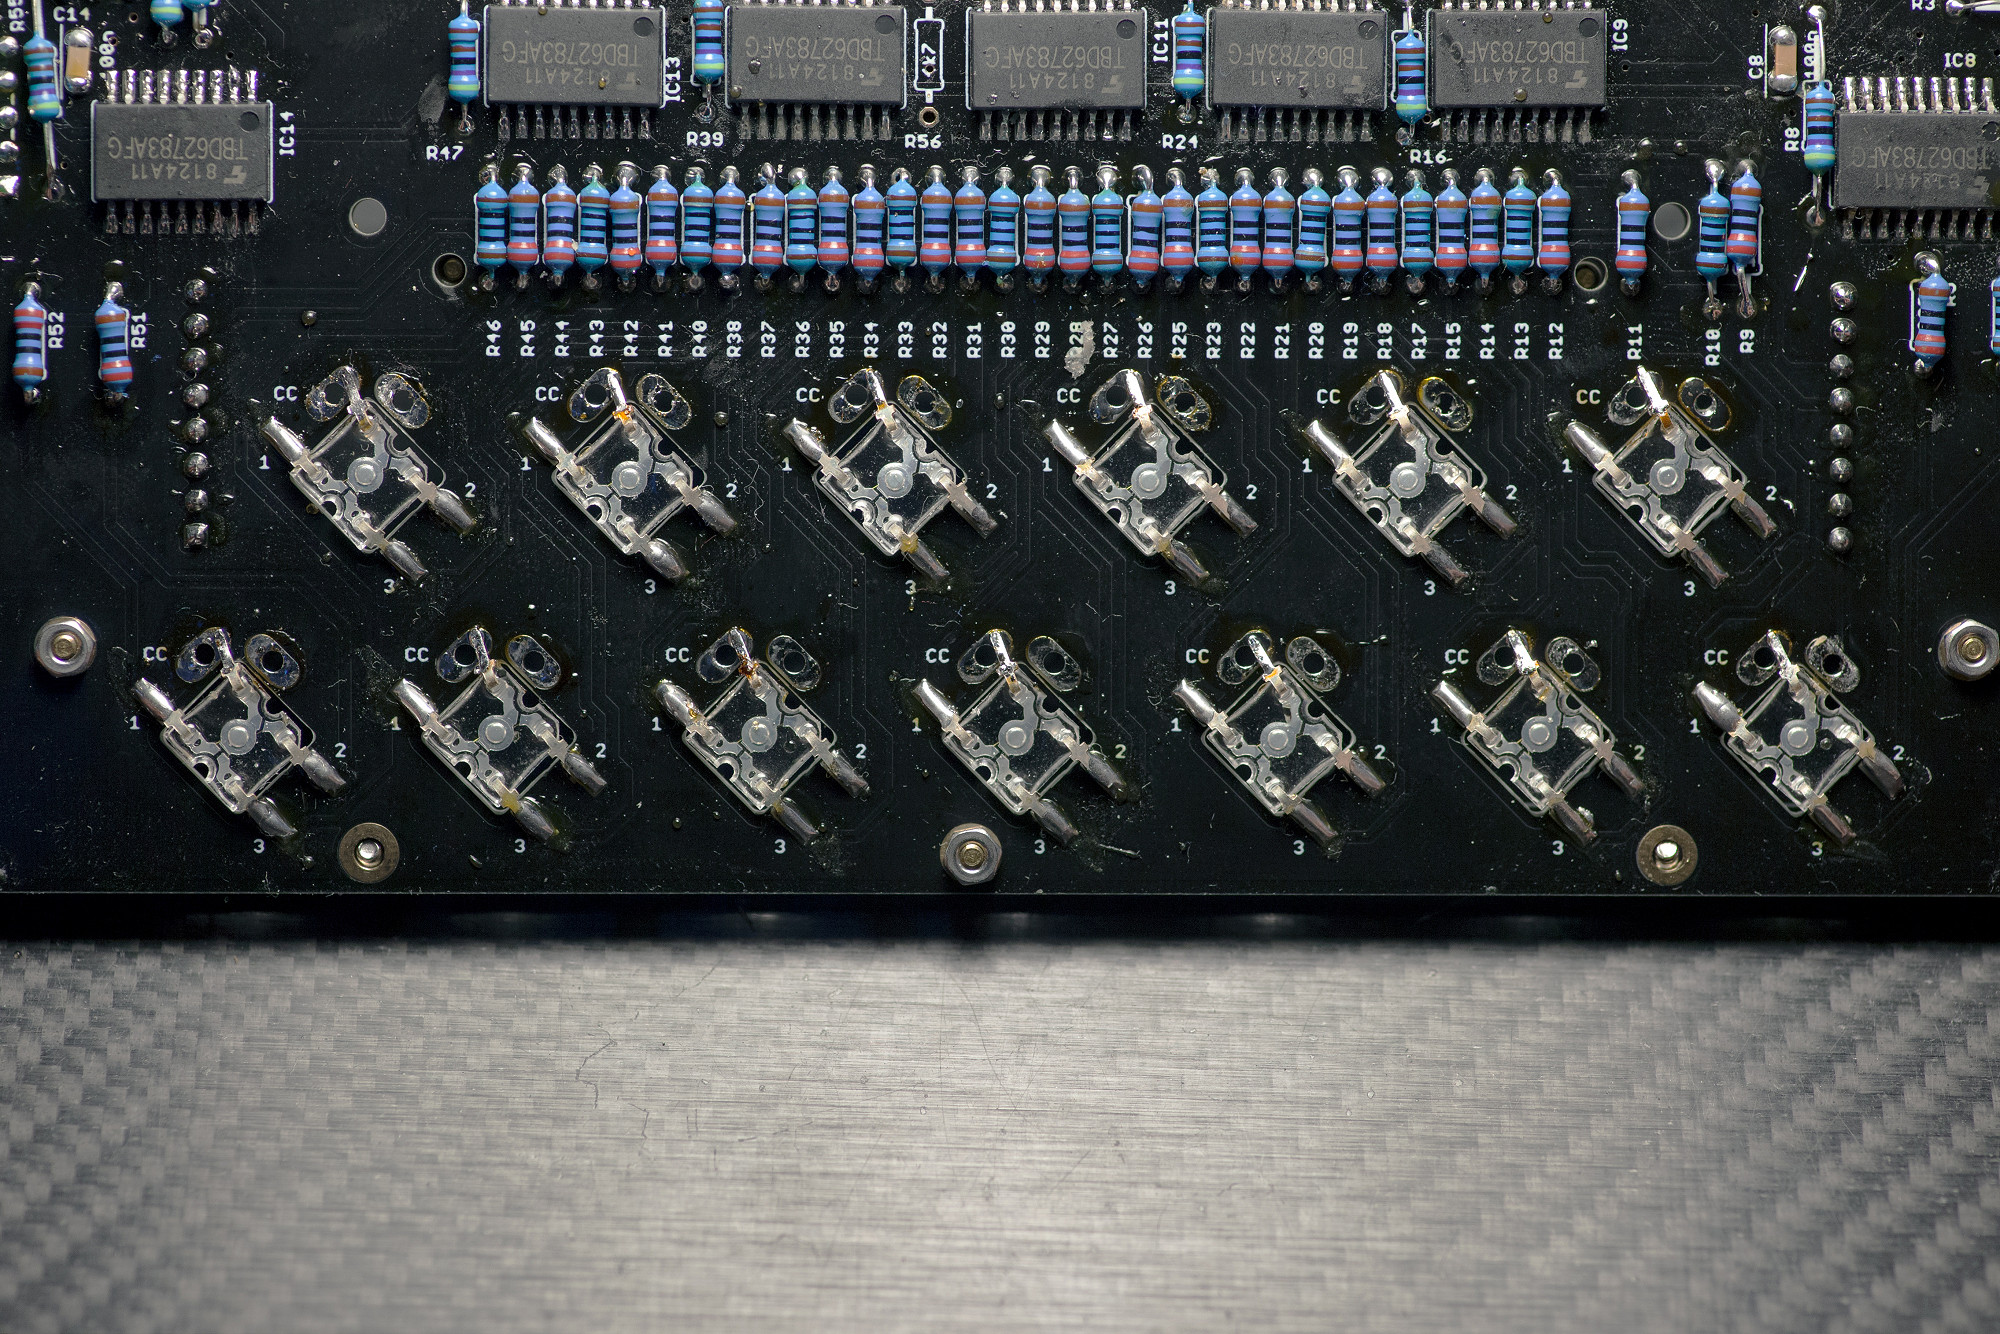
STEP 3: REMOVE SOLDER FROM PLATED THROUGH HOLES
Disassemble your midiphy LoopA (or SEQ v4+) to access the base/plate sandwich (or le mec/plate for the SEQ v4+) Turn over the PCB and remove solder from all Matias switches (leave keycaps mounted). Take care to use a desoldering temperature of only 300°C to not damage nearby superflux LEDs. A vacuum desoldering station is the preferred tool, but with a bit of patience, just using desoldering braid to clear the plated through holes should work too.
In this step, don't pull out the switches yet, just remove as much solder as possible.
STEP 4: REMOVE MATIAS SWITCHES
Heat up your standard-tip soldering iron (max. 300°C) and use pliers to grab the Matias switch body while heating up the two pins. Slowly remove the switches one at a time.
Don't pull the L4 keycaps with your fingers as they might break.
Heat up your standard-tip soldering iron (max. 300°C) and use pliers to grab the Matias switch body while heating up the two pins. Slowly remove the switches one at a time.
Don't pull the L4 keycaps with your fingers as they might break.
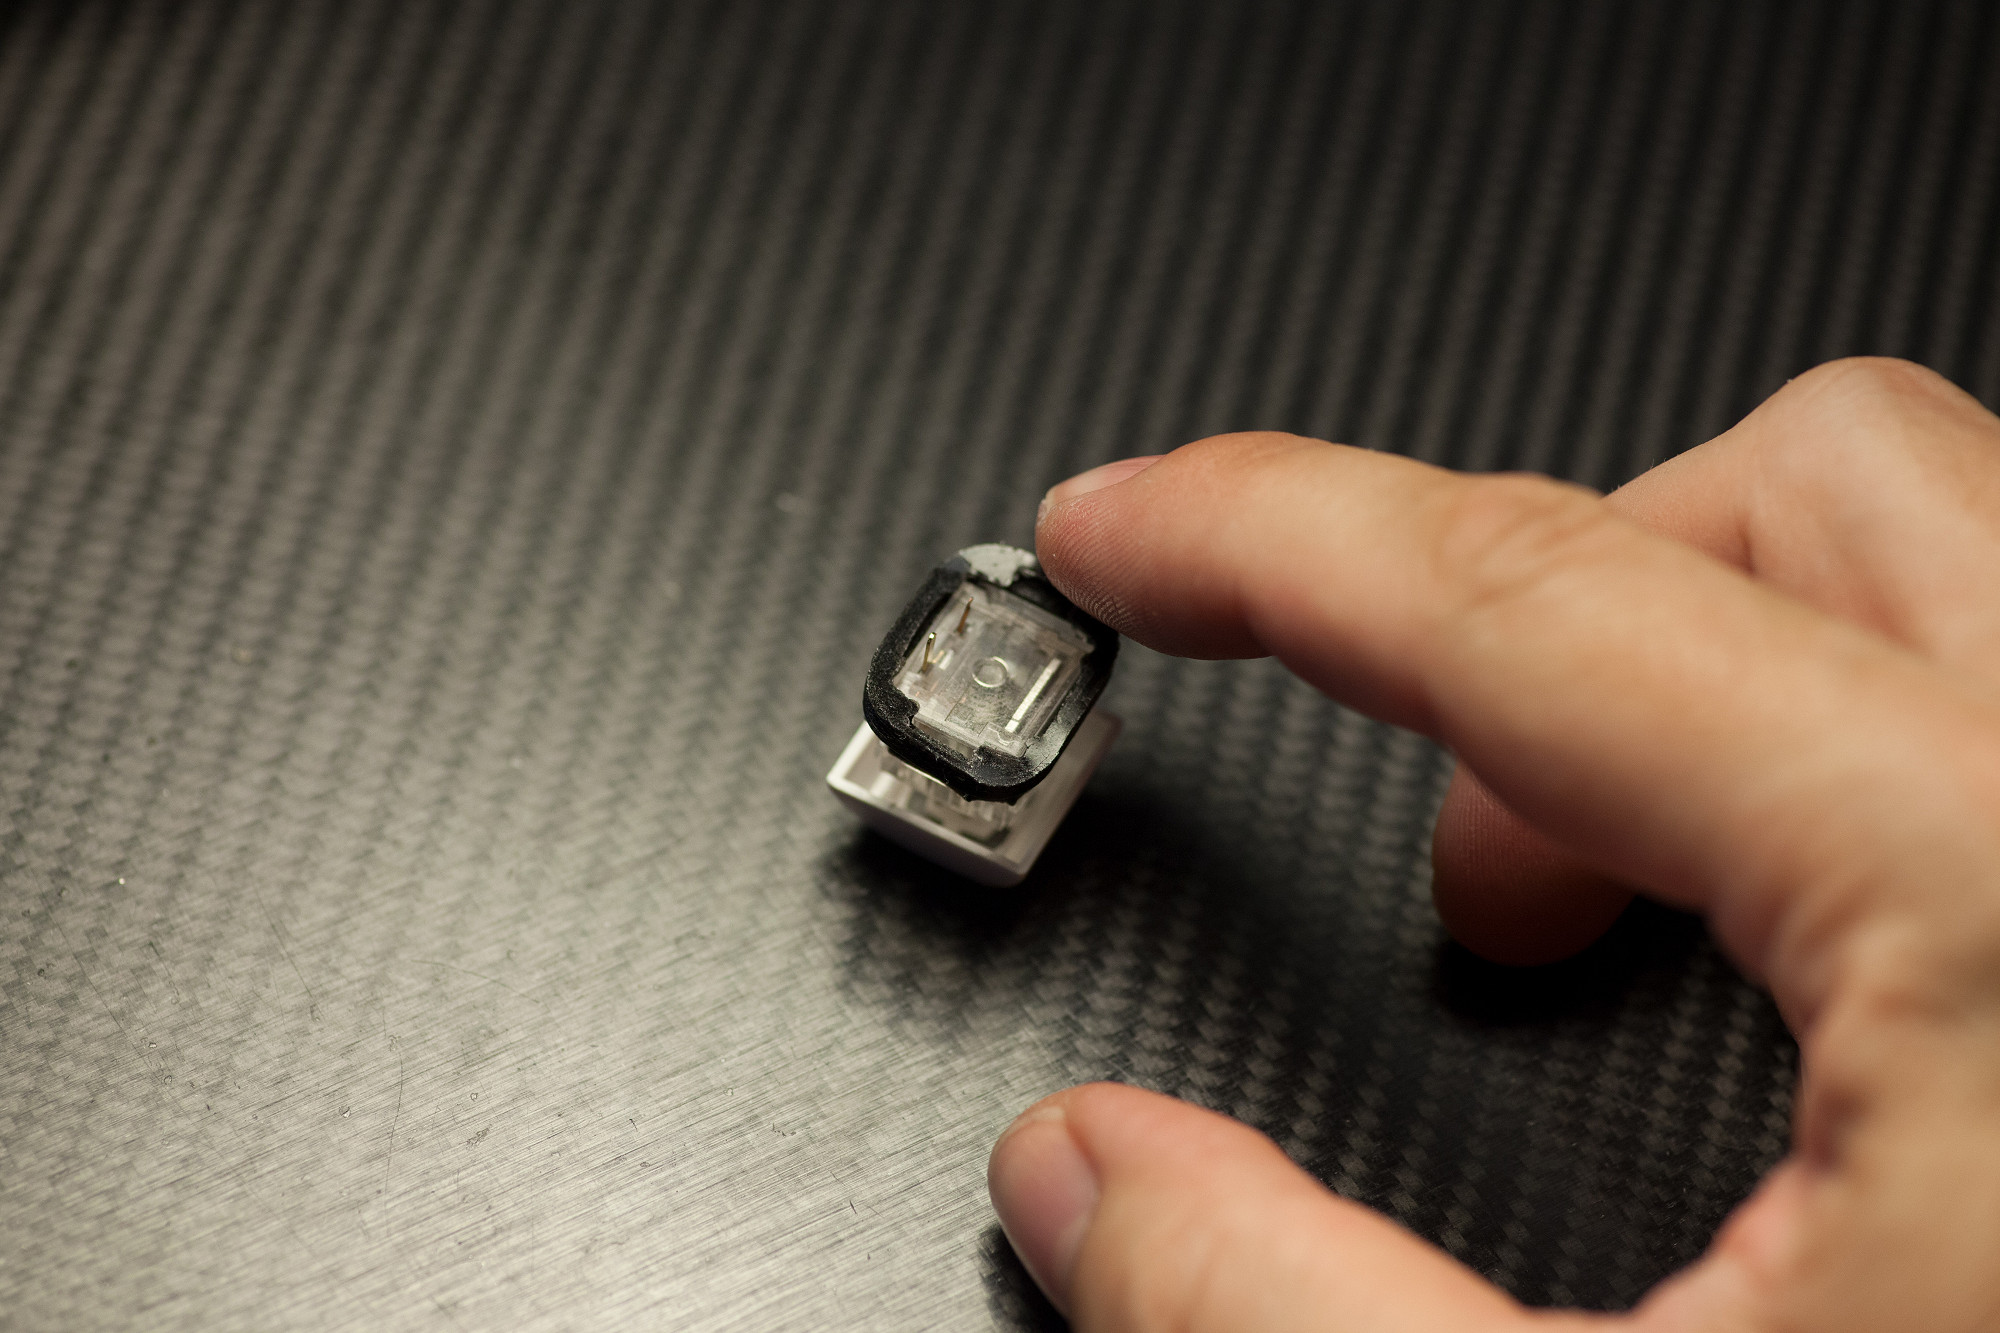
STEP 5: INSTALL THE FLEX LIGHT|SHIELDS
Leave the keycap mounted for this step.
Stretch the Light|Shield Flex over the underside of the Matias switch: put one side over the switch first (as shown in the photo) and while pressing the Matias switch onto your worktable, pull and stretch over the other side. You will probably need both hands for that, one hand/finger to press down the switch to the table so that it does not move, and the other hand to pull over the other end of the Light|Shield.
Quite a bit of force is required, but don't worry: the Light|Shields will not tear or warp when just manually stretched with your fingers. They will spring back to their original form after installation.
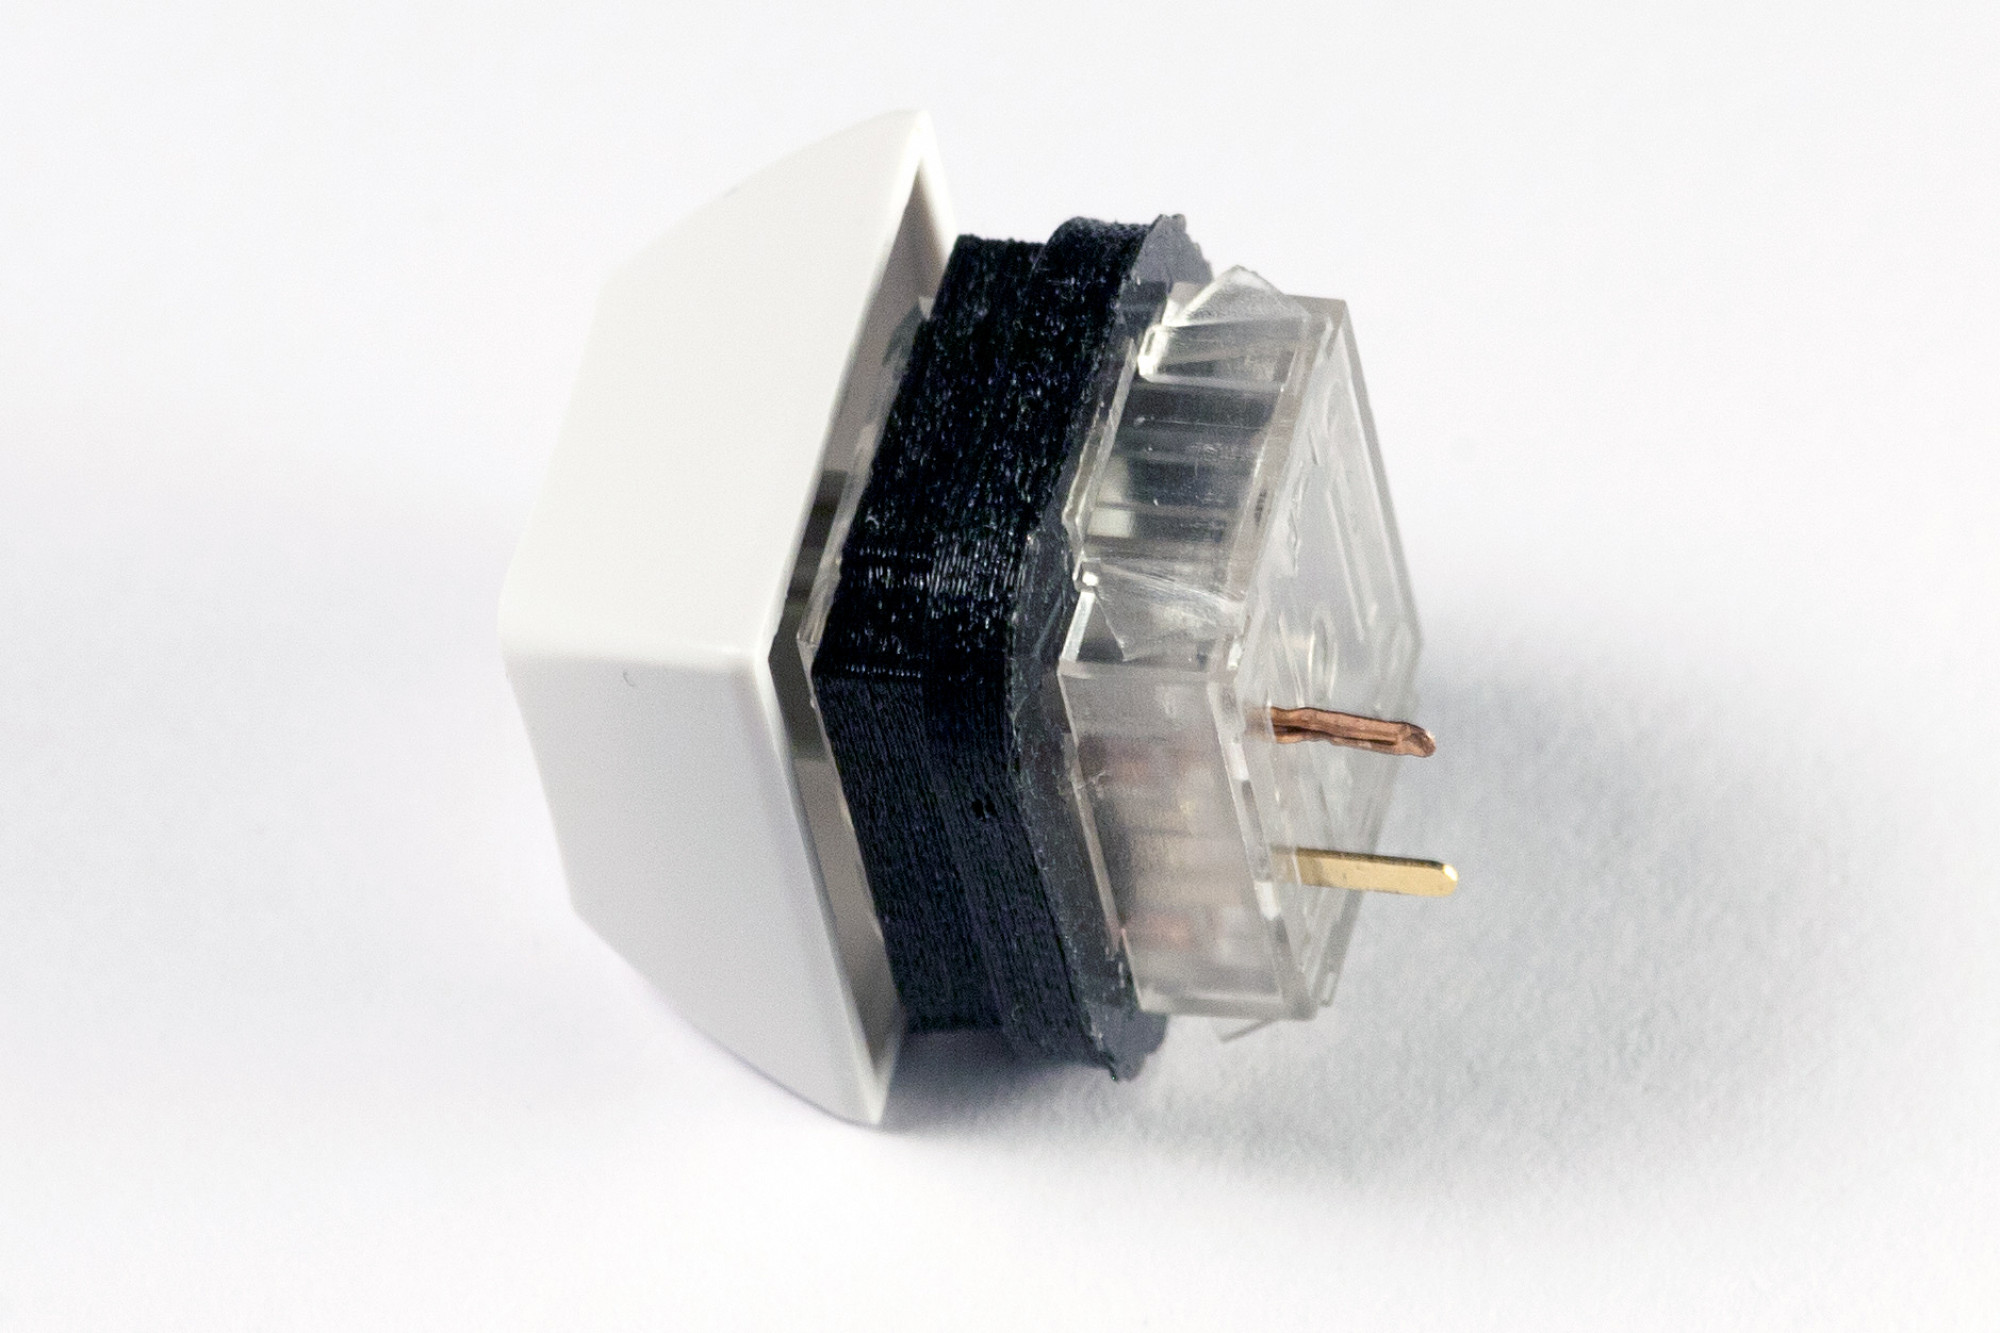
STEP 6: CHECK ALIGNMENT OF LIGHT|SHIELDS
Pull the Light|Shield over the entire switch so that the protrusions exactly fit within the respective Light|Shield recesses. Check that the keycap can be pressed down normally.
Check that the Matias switch sides (including protrusions) are completely covered by the Light|Shield - see picture.
Pull the Light|Shield over the entire switch so that the protrusions exactly fit within the respective Light|Shield recesses. Check that the keycap can be pressed down normally.
Check that the Matias switch sides (including protrusions) are completely covered by the Light|Shield - see picture.
STEP 7: CLEAN MATIAS THT HOLES
To prepare for switch re-installation, use a vacuum desoldering pump or desoldering braid to clean up the Matias plated through holes.
To prepare for switch re-installation, use a vacuum desoldering pump or desoldering braid to clean up the Matias plated through holes.
Step 8: Resolder Matias switches and Reassemble your Sequencer
Finally reinsert the shielded Matias switches in the PCB sandwich and solder them in place. Test the Matias switches (and Superflux LEDs), then reassemble your sequencer.
Enjoy the improved light isolation! :)
Finally reinsert the shielded Matias switches in the PCB sandwich and solder them in place. Test the Matias switches (and Superflux LEDs), then reassemble your sequencer.
Enjoy the improved light isolation! :)